The Siege of St. Petruvio Cathedral

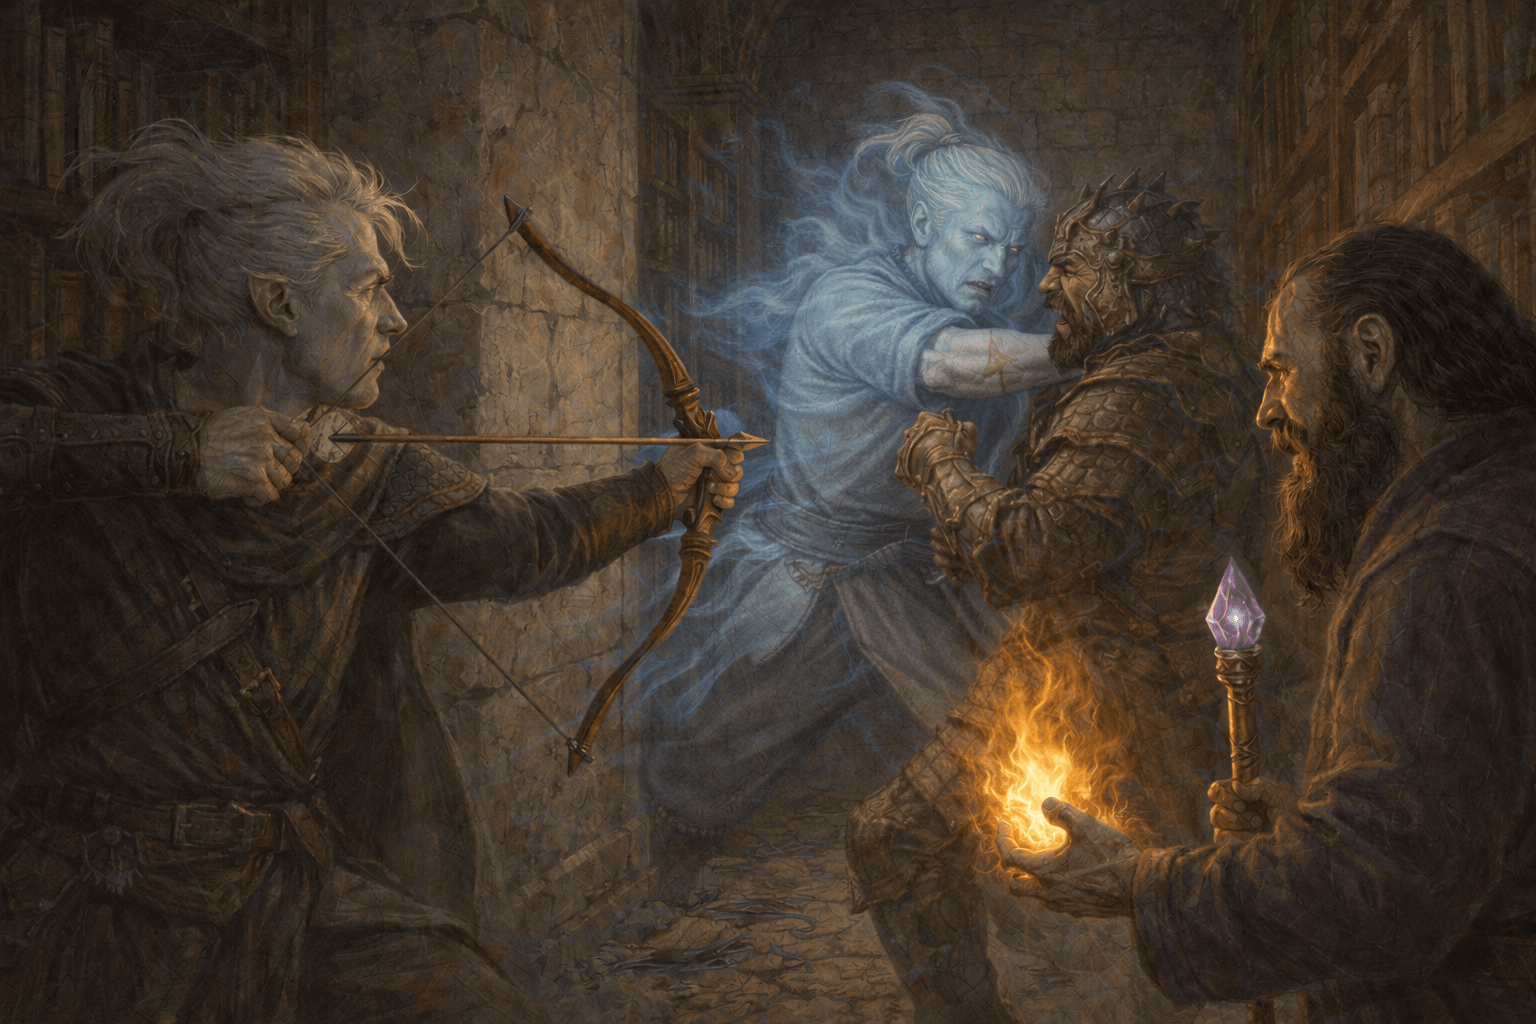
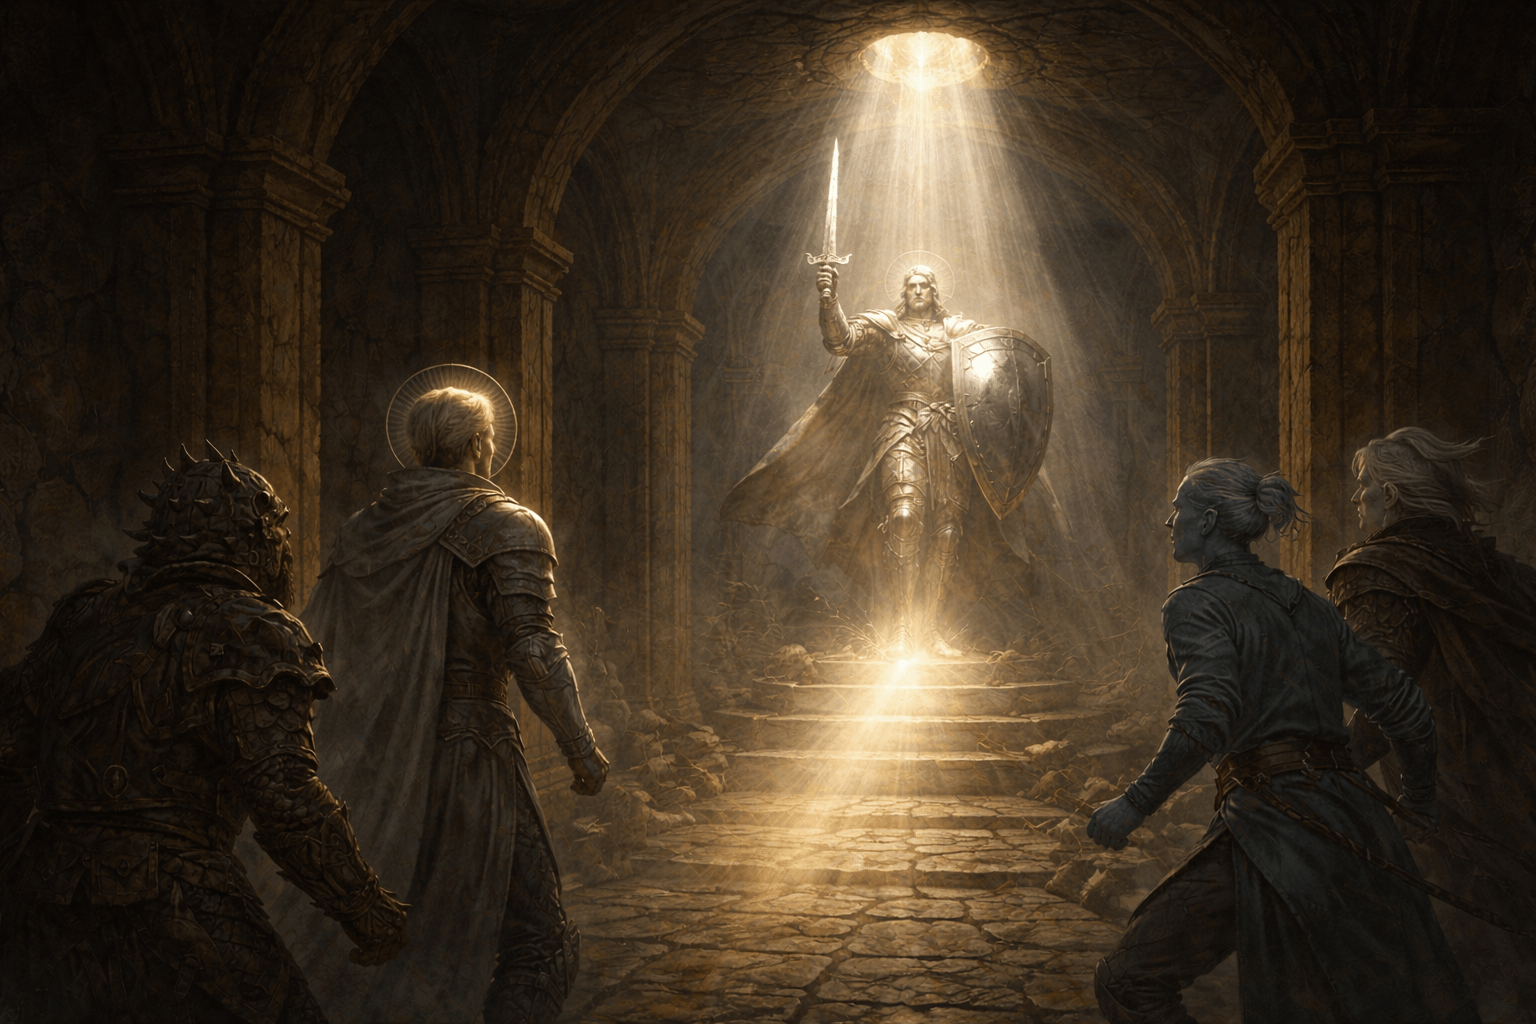
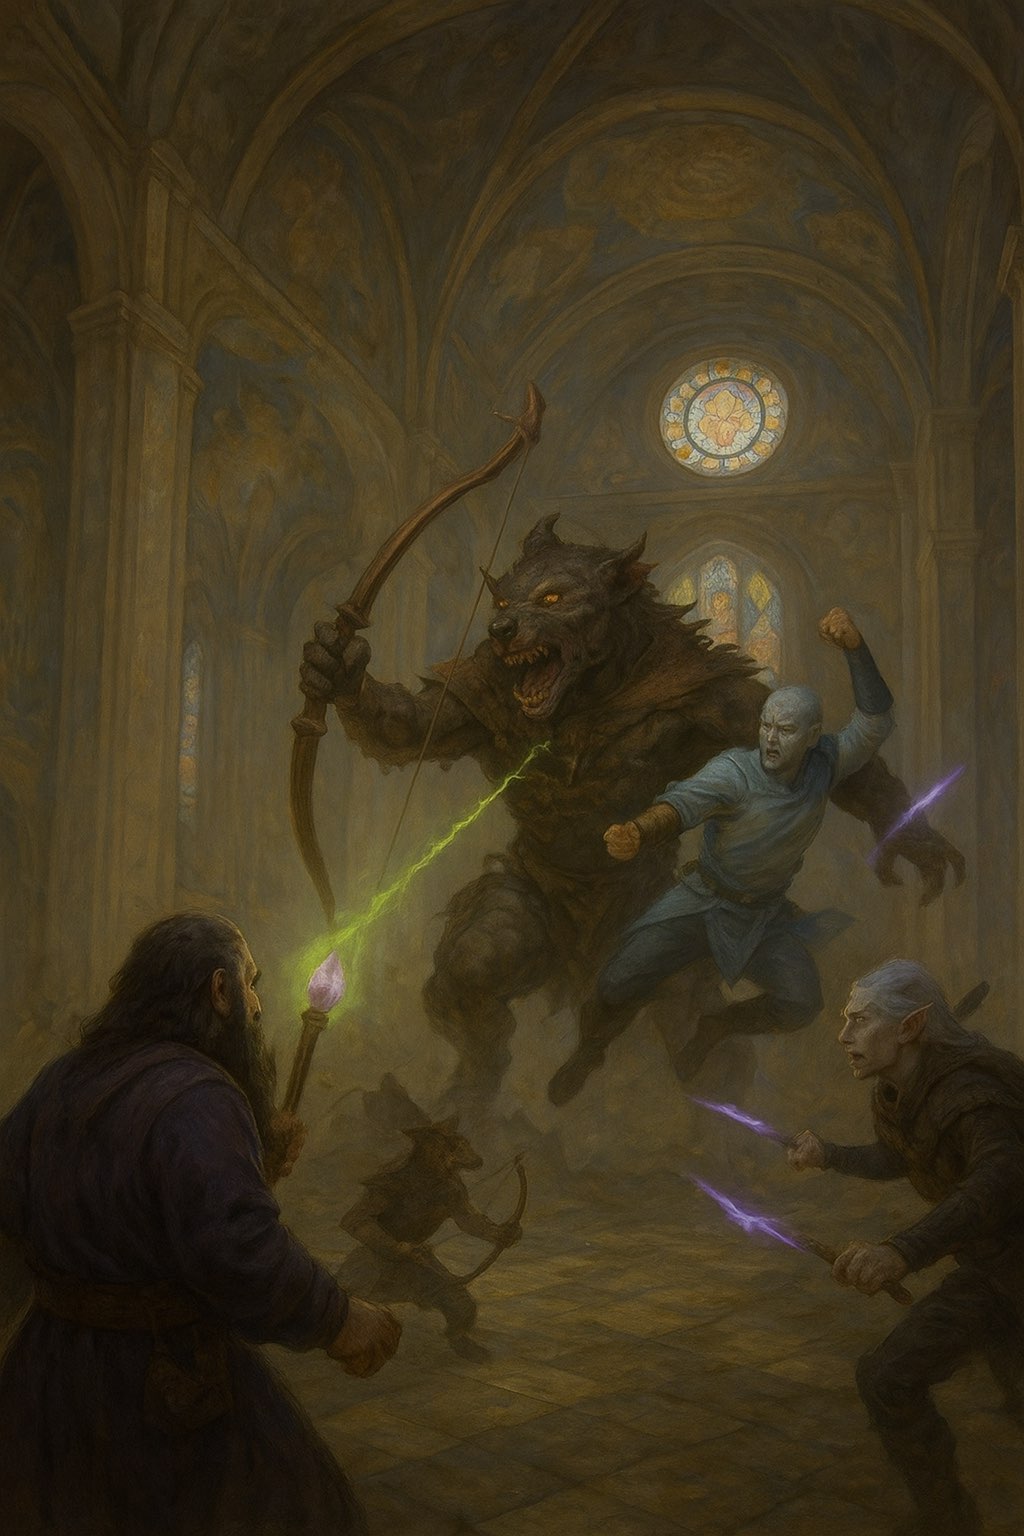
The party, alongside the Knights of the Silver Order, successfully stormed the Truvios Cathedral, defeated the Lord of the Feasts, and recovered the Phylactery of St. Petruvio in a grueling battle.

📜 Key Events (Timeline)

  • Reconnaissance: The party began by strategizing outside the besieged Truvios Cathedral. Belmir used the Inscrutable Staff to cast Arcane Eye, scouting the cathedral’s interior.
  • Intel Gathering: The magical eye revealed the cathedral had been heavily desecrated. Inside were the Lord of the Feasts, his priest holding the phylactery, approximately 14 Garmir (most armed with longbows), and four oversized wargs. The eye also briefly explored the catacombs below, revealing puzzle-like rooms and closed doors.
  • The Charge: After assessing the enemy forces, the party decided on a direct assault. Lord Theodore Marshall promoted Tyrius to the rank of Lieutenant of the Knights of the Silver Order. Tyrius then drank a Potion of Hill Giant Strength and cast Animate Objects, bringing the large statue of St. Petruvio and six daggers to life.
  • Combat Initiated: The animated statue kicked open the cathedral doors, and the party charged in with Lord Marshall and his knights.
  • Opening Salvos: The Lord of the Feasts quickly destroyed the animated statue with a series of powerful arrow shots. Belmir retaliated with a massive Fireball, instantly killing the enemy priest and several Garmir, securing the phylactery’s location.
  • The Main Battle: A prolonged and difficult battle ensued. The Garmir archers focused their fire on the frontline fighters. The Lord of the Feasts proved to be a formidable foe, using special arrows that dealt necrotic damage and could restrain targets. He targeted Gust relentlessly, eventually knocking him unconscious.
  • Turning the Tide: Tyrius used his Channel Divinity to frighten a majority of the Garmir, reducing their effectiveness. Lord Theodore Marshall used a powerful healing ability to bring Gust back into the fight. The tide truly turned when Octi reached the Lord of the Feasts, unleashing a Flurry of Blows combined with an Action Surge to successfully land a Stunning Strike.
  • Victory: With the Lord of the Feasts stunned and vulnerable, the party focused all their power on him. Belmir unleashed a Disintegrate spell for massive damage, followed by smites from Tyrius. Gust, back on his feet, delivered the final killing blow with a critical hit sneak attack. The remaining knights mopped up the last of the frightened Garmir.
  • Aftermath: The party defeated the Lord of the Feasts and his minions, securing the cathedral. They recovered the Phylactery of St. Petruvio from the body of the fallen priest. The DM announced a milestone achievement, allowing the party to level up.

👥 NPCs

Name Description Location Hooks Lord Theodore Marshall Knight Captain of the Silver Order. A powerful Paladin wielding a radiant warhammer. Fervently believes resurrecting St. Petruvio will end the Haze. Truvios Cathedral Promoted Tyrius to Lieutenant. Fought alongside the party and healed Gust. Will want to proceed with the resurrection ritual. Knights of the Silver Order Two healthy knights and two wounded archers. Survivors of the initial assault. Truvios Cathedral Fought alongside the party, effectively dispatching several Garmir. Their loyalty is to Lord Marshall and the Sacred Flame. Lord of the Feasts (Deceased) Main antagonist. A powerful archer who used special necrotic and restraining arrows. Truvios Cathedral Defeated by the party. Inflicted contamination on Tyrius and Gust before being killed. Garmir Priest (Deceased) Subordinate of the Lord of the Feasts. Was in possession of the phylactery. Truvios Cathedral Killed by Belmir’s initial Fireball. Garmir & Wargs (Deceased) Minions of the Lord of the Feasts. Truvios Cathedral Wiped out by the party and the knights.

đź’Ş PCs

PC Player HP/Status Inventory Changes Notes Tyrius Paladin Wounded. Gained 1 point of contamination. Used Potion of Hill Giant Strength. Promoted to Lieutenant. Used Animate Objects, Shield spell multiple times, and Divine Smite. Frightened most enemies with Conquering Presence. Belmir Wizard Healthy. Used multiple charges from the Inscrutable Staff. Provided crucial reconnaissance with Arcane Eye. Cast devastating AoE spells (Fireball) and a powerful single-target spell (Disintegrate). Gust Rogue Wounded. Gained 1 point of contamination. – Was knocked unconscious by the Lord of the Feasts but was revived by Lord Marshall. Delivered the final killing blow with a critical hit. Zadok Fighter Healthy. Used Javelin of Lightning. Cast Warding Wind, which significantly hampered the Lord of the Feasts’ ranged attacks. Octi Monk Healthy. Used Ki points and Action Surge. Landed the game-changing Stunning Strike on the Lord of the Feasts, leaving him vulnerable to the party’s final assault.

đź’Ž Loot/Resources

  • Gained: Phylactery of St. Petruvio.
  • Used: Several Potions of Healing, one Potion of Hill Giant Strength. Multiple spell slots and class resources were expended by all party members during the intense combat.

🗺️ Quests/Plot

  • Active: Find a way to cleanse the land of the Haze.
  • Completed: Assault the Truvios Cathedral and defeat the Lord of the Feasts. Retrieve the Phylactery of St. Petruvio.
  • Hooks: Lord Marshall is eager to use the scepter and the newly acquired phylactery to resurrect St. Petruvio, believing it will end the Haze. The party knows the situation is more complex, which may lead to a conflict of interest.

🌍 World/Lore

  • The catacombs beneath the Truvios Cathedral remain unexplored and appear to contain puzzles related to the “first flame keepers.”
  • The Lord of the Feasts’ arrows can inflict a magical contamination on their victims.

📝 DM Notes/Reminders

  • The party has achieved a milestone and will level up to Level 8.
  • The party is not at full resources post-battle.
  • Tyrius and Gust each have 1 point of contamination.
  • The next immediate plot point will likely be Lord Marshall’s plan to resurrect St. Petruvio.
  • Tyrius’s new rank as Lieutenant may have future social or political implications with the Knights of the Silver Order.

Strategic Planning for Cathedral Siege

The party arrives at the besieged Cathedral of St. Petruvius to find the aftermath of a brutal battle and a few surviving Knights of the Silver Flame, who implore them to help seize a powerful relic from the “Lord of the Feasts” inside.

Key Events (Timeline)

  • The session began with a brief discussion clarifying the party’s decision to proceed directly to the cathedral rather than spend time identifying magical items at the Cosmological Clock Tower. The consensus was to deal with the immediate threat in the Haze first.
  • The party traveled for approximately one hour through the Haze to reach the plaza of the Cathedral of St. Petruvius.
  • Upon arrival, they discovered a gruesome scene: a massive, ramshackle camp surrounding the cathedral, with a recently destroyed garrison belonging to the Knights of the Silver Order. The area was littered with the bodies of roughly 40 knights and 80 wolf-like humanoids, later identified as Garmir.
  • While approaching cautiously, the party was hailed by a survivor, Knight Captain Theodore Marshall, an ally they recognized.
  • Tyrius stepped forward, and Marshall explained the situation: his force of 50 knights had attempted to retake the cathedral about four hours prior but were repelled and slaughtered by the Garmir. Only he and four of his knights survived.
  • Marshall revealed that the “Lord of the Feasts” occupies the cathedral, accompanied by a priest who wields the Phylactery of St. Petruvius.
  • He urgently requested the party’s help in seizing the phylactery, which he identified as a Seal of Drakenheim. He believes that with the phylactery and the scepter (which the church already possesses), they can resurrect the ancient hero Saint Petruvius and his dragon to cleanse the city of its corruption.
  • Belmere, recalling information from Ryan Greymere, privately noted a contradiction: Greymere stated all the seals were necessary to lift the blight, not just two.
  • Tyrius assessed the wounded knights, using two Potions of Healing to stabilize the two most critically injured members, rendering them non-combatants but saving their lives.
  • The party, along with Knight Captain Marshall and his two other able-bodied knights, agreed to take a short rest before launching an assault on the cathedral.

NPCs

Name Description Location Hooks Knight Captain Theodore Marshall Leader of the surviving Knights of the Silver Order. Wounded, haggard, but resolute. Cathedral of St. Petruvius, outside the main entrance. Desperately seeks the phylactery to resurrect St. Petruvio. Will fight alongside the party. Knights of the Silver Order (Survivors) Four knights accompanying Marshall. Two are wounded but able to fight; two are critically injured (mangled hand/leg) and have been stabilized but cannot fight. Cathedral of St. Petruvius, outside the main entrance. The two able-bodied knights will join the assault. The two wounded are suffering from shock. Lord of the Feasts (Mentioned) A “clever and intelligent” leader of the Garmir occupying the cathedral. A formidable foe who has not yet been faced directly. Inside the Cathedral of St. Petruvius. The primary antagonist of this location. Garmir Priest (Mentioned) An attendant to the Lord of the Feasts. Inside the Cathedral of St. Petruvius. Currently wields the Phylactery of St. Petruvius.

PCs

PC Player HP/Status Inventory Changes Notes Tyrius Speaker 2 Full (after short rest) Used 2 Potions of Healing. Acted as party spokesperson with Marshall. Provided crucial medical aid to the wounded knights. Belmere Speaker 3 Full (after short rest) None. Gained critical insight that Marshall’s plan may be flawed. Asked key tactical questions. Confirmed rules for recharging his Arcane Ward with his new staff. Aftai Speaker 5 Full (after short rest) None. Recalled historical lore about Saint Petruvius and his significance. Gus (Mentioned) Full (after short rest) None. Rolled a 19 on the initial stealth check for the party.

Loot/Resources

  • Spent: 2x Potions of Healing (used by Tyrius on wounded knights).

Quests/Plot

  • Active: Seize the Phylactery. The party has agreed to help Knight Captain Marshall and his remaining forces enter the Cathedral of St. Petruvius to defeat the Lord of the Feasts and retrieve the phylactery from his priest.
  • Completed: None this session.
  • Hooks:
    • The Knights’ plan to resurrect St. Petruvio with only two Seals of Drakenheim directly contradicts prior information that all seals are required to cleanse the city.
    • The location of the scepter is generally known to be with the Church of the Silver Flame, but its specific whereabouts are unconfirmed.

World/Lore

  • Cathedral of St. Petruvius: An immense, baroque cathedral now serving as a fortress for the Garmir. The only known entrance is through the main golden double doors. The grounds are a fresh battlefield.
  • Saint Petruvius: A legendary paladin who, alongside his gold dragon, died fighting an army of chromatic dragons centuries ago. His body and powerful relics are entombed in catacombs beneath the cathedral. The Silver Flame venerates him as a messianic figure.
  • The Phylactery: A holy relic of St. Petruvius and also one of the Seals of Drakenheim. It is not a lich’s phylactery but a sacred object.
  • Garmir: Wolf-like humanoids described as “wily and agile.” They serve the Lord of the Feasts and sometimes ride giant wolves.

DM Notes/Reminders

  • The party and their three NPC allies (Marshall + 2 Knights) are taking a short rest. The next session will likely begin immediately with the assault on the cathedral.
  • Belmere can use the at-will Mage Armor spell from the Inscrutable Staff to fully recharge his Arcane Ward feature between combats.
  • The upcoming holiday season may cause scheduling conflicts for future sessions.

The Former Archmage and the Path Forward

Key Events (Timeline)

  • The party, deliberating in the Inscrutable Tower, is approached by a figure in white plate armor.
  • The figure reveals herself to be Ryan Raymere, the former Archmage of the Amethyst Academy. She came to dispatch Oscar Yorin but found the party had already done so.
  • Belmere shows her the two staves recovered from Oscar. Ryan confirms the white, cylindrical staff is the Inscrutable Staff, one of the Seals of Drakenheim.
  • Ryan shares crucial information:
    • She now operates out of a laboratory in the Rose Theater.
    • She believes all the Seals of Drakenheim are necessary to activate magic within Castle Drakken and dispel the Haze.
    • She provides leads on other Seals/powerful figures: a rogue magician called The Pale Man (rumored to be at the Kleinberg Estate) and the Queen of Thieves.
    • She warns the party that while she trusts River, any information given to her may reach Edric Runeweaver, who she suspects is trying to harness delerium for power.
  • Ryan provides more lore:
    • Eldritch Lilies grow in the Queen’s Garden, which is tended by the undead Queen of Drakenheim herself.
    • St. Vitruvio’s Cathedral is a likely location for a Seal. It was built atop the tomb containing the remains of Saint Vitruvio and his gold dragon, Argonath.
  • Ryan gives Belmere a scroll containing a formula she developed.
  • Belmere spends an hour attuning to the Inscrutable Staff. This forces him to unattune from the Steward’s Seal, as a character can only be attuned to one Seal of Drakenheim at a time.
  • The party decides to leave the tower and travel to the Cosmological Clocktower for a safe long rest.
  • Upon arrival, the party rests. Tyrius attunes to the Steward’s Seal, which Belmere gives to him.
  • Belmere forgoes his long rest to study the book, The Nexus of the Inscrutable Tower. He learns:
    • The tower’s functions can be controlled from a chamber at the very top called The Nexus.
    • The Nexus is operated via eight chairs surrounding a contained dimensional rift.
    • Controlling the Nexus grants access to the tower’s deep cells, which contain a vault sealed by three keys, holding a vast collection of magical arcana.
    • The book contains no information on making the tower a safe haven from the Haze.
  • After resting, the party decides their next destination is St. Vitruvio’s Cathedral.
  • The party travels to the cathedral. On the way, Gust gains one level of contamination. The session ends as they arrive.

NPCs

Name Description Location Hooks Ryan Raymere Dark-skinned human female with white flowing hair. Former Archmage of the Amethyst Academy. Wears resplendent white full plate armor and carries a quarterstaff. An enemy of Oscar Yorin and wary of the current Amethyst Academy leadership. Encountered in the Inscrutable Tower. Her base is the Rose Theater. Ally against the Haze. Possesses knowledge of the Seals, Castle Drakken, and other key figures/locations in the city. Offered to help the party if they gather the seals. The Pale Man A rogue magician and “fiend.” Rumored to reside at the Kleinberg Estate. May possess knowledge of or hold one of the Seals of Drakenheim. Ryan marked him for extermination. The Queen of Thieves A powerful figure in the city’s underworld. Unknown. May have knowledge of the Seals of Drakenheim. The Queen of Drakenheim The former queen, now an ancient, undead creature. Tends her garden in the Queen’s Park. Her garden contains numerous Eldritch Lilies, a key component for a ritual. She is a significant threat.

PCs

PC Player HP/Status Inventory Changes Notes Belmere Blake Did not gain the benefits of a long rest. Gained: Inscrutable Staff (+2), Scroll from Ryan. Lost: Steward’s Seal (gave to Tyrius). Attuned to the Inscrutable Staff. Spent the night studying a book about the tower. Tyrius Kevin Full HP/Resources (Long Rest). Gained: Steward’s Seal. Attuned to the Steward’s Seal. Experienced a magical awakening during the fight with Oscar. Zadok Matt Full HP/Resources (Long Rest). No changes. No relevant content mentioned. Gust Chris Full HP/Resources (Long Rest). Contamination: 2. No changes. Gained 1 level of contamination while traveling to the Cathedral. (Unspecified) (Unspecified) Full HP/Resources (Long Rest). No changes. No relevant content mentioned.

Loot/Resources

  • Inscrutable Staff: (+2 staff, +2 to spell attack rolls & save DC). Has 20 charges. Can cast Haste, Slow, Arcane Eye, Dimension Door, Arcane Hand, Wall of Force, Disintegrate, Reverse Gravity, Maze using charges. Can cast Detect Magic, Floating Disc, Mage Armor, Mending, Message, Misty Step at will without charges. (Attuned by Belmere).
  • Steward’s Seal: A Seal of Drakenheim. Allows casting of Dispel Magic, Create Food and Water, Animate Objects, Telekinesis and several cantrips. Can rebuke gargoyles and tower dragons. (Given to and attuned by Tyrius).
  • Scroll: A scroll containing a formula developed by Ryan Raymere. (Given to Belmere, contents unknown).

Quests/Plot

  • Active: The Seals of Drakenheim: The party has secured the Inscrutable Staff. New leads point towards St. Vitruvio’s Cathedral (possibly for the High Flamekeeper’s Phylactery), the Pale Man, and the Queen of Thieves.
  • Active: The Inscrutable Tower: The party has learned the tower is controlled by a “Nexus” at the top, which requires eight chairs to operate. This grants access to a deep vault sealed by three keys. The personal quest to “unlock the magic of the tower” is ongoing.
  • Active: Eldritch Lilies: The party confirmed the lilies grow in the Queen’s Garden, but it is guarded by the undead Queen of Drakenheim.
  • New Destination: The party has decided to investigate St. Vitruvio’s Cathedral next.

World/Lore

  • Amethyst Academy Politics: Ryan Raymere has cast off the “Edicts of Lumen,” believing them too restrictive to fight the corruption in Drakenheim. She fears Archmage Edric Runeweaver is seeking to exploit delerium for power and that River, while good-hearted, may inadvertently pass information to him.
  • St. Vitruvio’s Cathedral: Built on a mound containing the remains of Saint Vitruvio (a great paladin of Drakenheim) and his gold dragon, Argonath. They died centuries ago defending Westmar from an army led by a half-dragon warlock.
  • The Nexus: An arcane apparatus at the top of the Inscrutable Tower, built around a stable dimensional rift. It controls all magical functions of the tower.

DM Notes/Reminders

Belmere is operating without the benefits of a long rest.

Gust is now at 2 levels of contamination.

The party is beginning the next session at the entrance to St. Vitruvio’s Cathedral.

The time is mid-morning on a new day.

Breach Aftermath and Recovery Strategies

đź“…About Meeting

  • Date & Time: 2025-10-02 20:51 (Duration: ~1h58m)
  • Location: Inscrutable Tower – Library breach and upper director’s chambers (in-game)
  • Attendee: Belmir, Gus, Octi, Zadok, Tyrius

đź“’Meeting Outline

Breach Aftermath and Loot Recovery

  • Oscar Yoren’s remains and loot
    • Party confirmed Oscar’s undead minions reduced to husks.
    • Belmir searched Oscar’s body: recovered two staffs (one ebony, twisted; one long plain white staff), a large research spellbook (200–300 pages on delirium, dregs, husks), four scrolls (two arcanely familiar, two alien with octarine inks), three delirium crystals, and ~60 platinum.
    • Delirium crystals safely stowed using Mage Hand into special pouches.
  • Library environment and conditions
    • Massive anti-gravity breach with swirling debris and eldritch lightning; visibility limited by maelstrom.
    • Elevators destroyed; vertical shafts present on every level; stairs intact below the breach, obliterated above ~40–50 ft.
  • Initial reconnaissance plan
    • Belmir and Gus advanced upward using psychic flight speed = 10 ft Ă— INT mod (min 10).
    • Decision to move slowly together (20 ft increments) to maintain visual contact and safety.

Ascending the Breach

  • Hazard navigation and lightning strikes
    • Multiple staged D6 hazard checks while ascending ~180 ft breach.
    • Observed: debris density increases after ~50 ft; frequent dodging required.
    • Gus evaded an eldritch lightning strike (Dex save + Evasion; no damage).
    • Near top, both rolled 1s; Belmir used Absorb Elements to halve 33 lightning damage (noted “lightning but not natural,” eldritch arcane feel). Casting inside breach caused odd reactions: nearby debris/books sprouted limbs momentarily, indicating wild/unpredictable magic surges upon casting.
  • Reaching upper level
    • Gravity gradually returned on stairs above breach.
    • Found an obsidian double door leading to director’s audience chamber with an astrolabe, Amethyst Academy sigil, chandelier of celestial rings, and an iron side door. A chest stood beside the throne.

Director’s Chambers and Nexus Discovery

  • Room checks and findings
    • No traps or arcane runes on doors; chamber quiet except mechanical astrolabe ticking.
    • Side room (iron door) opened via Mage Hand: revealed a five-foot-wide vertical torrent of octarine light rising from a rune-inscribed dais. Runic circle showed transmutation and conjuration markers; Belmir assessed it as a transport-related construct (likely Nexus-related), not a standard teleportation circle.
  • Chest contents assessment
    • Inside: clockwork components/gears, a large metallic “rock,” and a bowling-ball-sized glass sphere containing a delirium crystal.
    • Arcana suggested parts likely related to the Cosmological Clock Tower mechanisms.
    • Glass sphere taken via Mage Hand into Bag of Holding; heavier components left in place (Gus later staged the chest to the stairwell but did not attempt passage with it through the breach).

Party Split, Risk Realization, and Regroup

  • Restlessness below and attempted ascent
    • After ~1–2 hours, Octi and Tyrius attempted ascent (INT flight 10 ft/round). Tyrius was struck by eldritch lightning in the first 10 ft (38 damage), prompting immediate retreat and reassessment; healing via potions.
    • Conclusion: low-speed ascent is prohibitively dangerous for most of the party.
  • Return of Belmir and Gus
    • Belmir descended at full speed safely; Gus descended with multiple checks, dodging a final lightning strike at the breach exit.
    • Debriefed team: discovered probable Nexus transport room and director’s chamber; retrieved glass sphere (delirium), logged two staffs and research materials; chest components likely important for Clock Tower; moving all members through breach unsafe without control or shortcut.

Withdrawal Planning and New Threat

  • Rest vs. exit
    • Considered short rest on research floor; acknowledged others had partial recovery time while waiting.
    • Decided to withdraw from tower toward Emberwood Village when feasible; avoid further breach crossings until controls understood.
  • Incoming adversary
    • At the base of the stairwell on the research floor (still in anti-gravity zone), Belmir and Gus heard heavy mailed boots approaching from the library side—similar to prior clockwork/golem sentinels.
    • A female voice called out: “So I see you found the staff,” implying hostile awareness and imminent confrontation.

đź“‹Overview

  • Recovered critical loot from Oscar Yoren: two staffs (one plain white, likely significant), research spellbook, four scrolls (two alien), three delirium crystals, ~60 pp.
  • Library breach is a deadly maelstrom with eldritch lightning; casting within triggers chaotic effects; fast movement reduces exposure.
  • Discovered director’s audience chamber and a transport-like Nexus room powered by octarine light and runic circle (transmutation/conjuration).
  • Chest of clockwork components likely ties to Cosmological Clock Tower; heavy and risky to transport through breach; glass sphere with delirium safely retrieved.
  • Attempt by Octi/Tyrius to ascend confirmed hazards too great for low-speed characters; regrouped plan to avoid breach until controls found.
  • Decision to withdraw and rest; interrupted by arrival of armored foes and a female adversary who seems aware of the staff.

🎯Todo List

  • Belmir:
    • Study “The Inscrutable Nexus: The Tower, The Magics Within” to identify Nexus function, controls, and the role of the staff; preliminary findings next session.
    • Identify both staffs (attunement checks, detect properties) to confirm if the white staff is the Inscrutable Staff; start immediately.
    • Analyze four scrolls (catalog known two; research the two alien octarine scrolls) for usability/risks; after safe rest.
  • Gus:
    • Secure and inventory valuables: platinum, delirium crystals, glass sphere; ensure safe containment; before leaving tower.
    • Plan extraction routes and fallback points on research floor; coordinate with Octi/Zadok; before engagement with incoming foes.
  • Octi:
    • Coordinate immediate defensive posture against approaching mailed enemies; assign positions/cover in low-gravity environment; now.
    • Evaluate alternative egress down the tower vs. holding position for a short rest; decide with consensus post-contact.
  • Zadok:
    • Support Arcana/Perception surveillance for incoming threats; maintain Guidance and healing triage; ongoing.
    • Assist Belmir in cross-referencing tower schematics from found book on the Inscrutable Tower (pre-catastrophe diagrams) with observed rooms; after combat or during safe window.
  • Tyrius:
    • Heal up (potions/abilities) to readiness; confirm status for potential immediate combat; now.
    • Prepare tactics for construct/golem-type foes based on prior encounters; now.
  • Team:
    • Decide whether to engage, evade, or parley with the approaching female and mailed forces; immediate.
    • If disengaging, set course to Emberwood Village for rest, item identification, and planning; post-contact.
    • Plan a return expedition with: attuned staff, clearer Nexus understanding, and a method to bypass or disable the breach hazards; before next ascent attempt.

Regrouping and Strategic Planning in Emberwood Village

Date:

  • Date & Time: 2025-07-24, 21:02 (Duration: ~2.25 hours)

đź“’Meeting Outline

Session Logistics and Recap

  • Technical Setup and Banter The session began with lighthearted conversation about video conferencing mishaps, referencing popular internet moments and sharing personal anecdotes. All attendees confirmed their audio and video were working.
  • Previous Session Recap The group recapped the last adventure: retreating from the Inscrutable Tower after a challenging encounter with fire-spewing automatons, resulting in a tactical withdrawal to Emberwood Village for rest and recovery.

In-Town Activities and Resource Management

  • Contamination Status Players reviewed their contamination levels, confirming current statuses and noting that no one was in immediate danger, though some minor contamination persisted.
  • Delirium Fragment Sale Blake sold 18 delirium fragments to River, receiving 1,800 gold. The group opted for gold over trade, though scrolls were offered. River discreetly suggested a more private meeting for further business, indicating sensitivity around the Inscrutable Tower topic.
  • Resource Distribution The party divided loot: each member received 460 gold and 200 platinum. Discussion followed on the high cost of goods due to local inflation (double standard prices, food/drink five times normal).
  • Equipment Upgrades Blake purchased full plate armor from Crow and Sons Blacksmith for 3,000 gold (with a promise of five delirium fragments on next return). A roleplay scene with the blacksmith and his daughter highlighted the transaction and party’s growing reputation.
  • Spell Scribing and Supplies Blake acquired materials to scribe two spells (Invisibility and Suggestion) into his spellbook, spending 400 gold. Additional time was spent affixing trophies to new armor and practicing jewel carving.
  • Religious and Personal Reflection Speaker 6 (Gus) visited the witch’s shrine, donating gold and engaging in intense prayer. He received a cryptic vision: “Seals. Seals. Seals.” This led to a dawn conversation with the witch, who explained the significance of the Seals of Drakenheim—ancient artifacts tied to the city’s fate. Gus’s compass, previously unreliable, pointed toward Drakenheim after a mystical experience.

Market and Magic Item Acquisition

  • Potion Purchases River provided six healing potions at 100 gold each; Blake bought all six for party use. Additional potions were purchased from Aldor the Immense, who also offered magical items.
  • Magic Item Shopping Gus bought a +1 enchanted shortbow (2,200 gold/platinum), and Clay acquired a Ring of Protection (+1) after successful negotiation (950 gold). Both received invoices and attuned to their new items.
  • Party Inventory Coordination Blake confirmed that all items in the party’s bag of holding are available to members upon request.

Strategic Planning and Party Direction

  • Seals of Drakenheim: Party Briefing Gus shared his vision and the witch’s information about the Seals, emphasizing their importance in containing the spreading mist. The party discussed their current possession of one seal and the need to collect others, placing the compass in the bag of holding for group benefit.
  • Personal Transformations Several characters reflected on the darkness affecting them, with Tyrius and Belmir noting changes in their spiritual and magical alignments. The group acknowledged the toll the campaign is taking on their identities and resolve.
  • Religious Intervention Blake expressed concern about Tyrius’s growing affinity for corruption and arranged a discreet intervention with Flamekeeper Ophelia. After a dramatic ritual, Ophelia purged Tyrius of his compulsion, at personal cost, and accepted a donation in thanks.
  • Next Steps Discussion The party debated their next objectives. Key points included:
    • The need to secure a safe resting point within the haze, possibly by controlling a tower or similar location.
    • The urgency of pursuing the Inscrutable Tower, as rival Oscar Yorin is rumored to be heading there to claim the seal (the Inscrutable Staff).
    • The potential value of investigating Oscar Yorin’s house for clues or resources before heading to the tower.
    • The ongoing quest for the Seals, with the Queen’s Garden and other locations flagged for future exploration.
    • The importance of supporting party members affected by madness or corruption, with plans to return to the Flamekeeper for further purges as needed.

đź“‹Overview

  • The party regrouped in Emberwood Village after a difficult retreat, using the opportunity to rest, resupply, and upgrade equipment.
  • Contamination levels were reviewed and managed; loot was distributed equitably.
  • Major purchases included full plate armor, a +1 shortbow, and a Ring of Protection, as well as a significant stock of healing potions.
  • Gus received a vision indicating the Seals of Drakenheim are crucial to containing the mist; the party is now focused on collecting these artifacts.
  • The witch and River provided critical lore and intelligence, including warnings about Oscar Yorin’s ambitions and the need for discretion regarding the Inscrutable Tower.
  • Tyrius underwent a successful but taxing purification ritual, removing his compulsion toward contamination.
  • The party agreed on a general plan: investigate Oscar Yorin’s house, then proceed to the Inscrutable Tower to secure the seal before Oscar can.
  • The group recognized the need for a secure base within the haze and discussed strategies for long-term survival and campaign progression.

🎯Todo List

  • Blake:
    • Investigate Oscar Yorin’s house for clues, resources, or potential confrontation, before proceeding to the Inscrutable Tower. (Next session)
    • Prepare and utilize spells (Invisibility, Suggestion) for potential infiltration or negotiation with Oscar Yorin. (Ongoing)
    • Return to Flamekeeper Ophelia for brother’s (and others’) further purges as needed. (As required)
  • Gus (Speaker 6):
    • Return to the witch in 20 days to inquire about tools of darkness or new magical items. (Track in-game calendar)
    • Monitor the compass for guidance toward additional Seals; lead party in following its direction when appropriate. (Ongoing)
  • Clay:
    • Attune to and utilize Ring of Protection; coordinate with party for further magical item needs. (Immediate)
  • Tyrius (Speaker 7):
    • Continue spiritual reflection and monitor for further effects of the haze; support party in religious and magical matters. (Ongoing)
  • Party (All):
    • Secure a safe resting point within the haze, potentially by claiming or allying for control of a tower or similar location. (Strategic, ongoing)
    • Prioritize collection of the Seals of Drakenheim, using compass and gathered intelligence to guide exploration. (Campaign-long)
    • Maintain regular check-ins regarding contamination, madness, and resource needs. (Ongoing)
    • Consider further purchases from Aldor the Immense or other vendors as funds allow. (As needed)
    • Support Sirius in his quest for the eldritch lily in Queen’s Park for future ritual capability. (Future session)

This summary is intended as a comprehensive reference for all party members, ensuring clarity on recent developments, current objectives, and individual responsibilities.

Session 3 Notes

The group were new in Emberwood Village, but had a decent lay of the land thanks to a thorough, but grim tour given by Aliscent Crowe, the Blacksmith’s daughter. The group first set off to visit Aldor the Immense, a very fat human male and owner of one of the most lavish caravans in town. They perused his goods and made a few inquiries. Zadok asked about a garnet inscribed with Dwarven runes. Aldore made mention that although many garnets cross his path, none with that description had, but if he came across it he would set it aside for him. They departed for other sights, with Aldor saying “Anyone who says money can’t buy happiness doesn’t know where to shop.”

They then went to Crowe and Son’s, the blacksmith, and perused their gear while Zadok made further inquiries about his sword. Meanwhile, Belmir went with Aliscent to nearby the watchtower and has a short conversation where he asked her about a few things. When the rest had finished with the Blacksmith, they joined Belmir at the watchtower.

They met with Raine Highlash, a human female, who had a predatory look about her. She appeared to be Captain of the Hooded Lanterns, as she was giving out orders to various scouting parties. They inquired about work, but were told they were too inexperienced, and she made a deal that if they went into Drakkenheim and retrieved some delerium that future work could be obtained.

They next went to the Shrine of the Old Gods, where they met Old Zoya, the witch. She explained a few things and was impressed by Gael’s reverence of the old primordials. Although, to Gust’s dismay, she did not have a didgeridoo on hand, she told him to come back in about 6 days and she may have something for him.

After that, the group went to the Gilded Lilly, where Gael took part in “open mike night,” and gave a performance of the ballad Purple Rain, styling himself as the artist currently known as prince. He made a few gold, they all had a few (expensive) drinks, and left to the Bark and Buzzard. Upon entering, they were immediately called out as Newbies by a rough looking female Tabaxi (Cat-person). She challenged them to face “Old Rattlecan,” a tradition for newcomers to Emberwood. She led them outside into the back yard, where a suit of old armor saluted them, and in an old timey accent said, “To those about to die, I salute you.” A wager was made, and combat is about to begin…

Session 3 Preamble

All basic items allowed within 5Th edition Core Rules can be found in Emberwood Village. The various merchants and people have most things one way or another. But keep in mind that Emberwood is the literal last bastion of civilization out there near Drakkenheim. Things like crops and basic goods are NOT FREELY AVAILABLE. As such everything has to be carted in (remember, Eren Marlowe). As such everything in the core rules costs double its normal cost, and food costs five times as much. Even water is a scarce resource that must be carted in, and thus is priced like alcohol (1 sp minimum per mug). Exotic items and components can be had around town, but are rare, and (die roll depending) merchants may not have what you are looking for. They can still be purchased, but remember that everything must be carted in and it may take up to 6d6 days for an order to arrive in Emberwood. Anything exotic purchased in this manner costs five times the normal price. Bear in mind there is alot of opportunity to find gold and fortune (and components, materials, whatever) within the city as well, but be aware that things may not be as instant as in a normal D&D campaign.

Additionally, The folk of Emberwood Village have grown accustomed to adventurers trying to haggle and swindle them. They don’t give discounts or make deals, and tell adventurers who push for better prices to pay up or go elsewhere (there isn’t any-where else to go)

Most merchants in Emberwood Village will trade or purchase found treasure, salvaged equipment, gems, or art objects at half their listed value.

Everyone be thinking about what you want to do in Emberwood. Have a game plan and let me know. We will role-play the important stuff out, other things like “i’m buying a bunch of supplies” will just be handled in kind of a handwave type of interaction.

Session 2

The group was awoken by the screams of Edra, who was enwrapped in a tentacle that now grew out of Roderick’s arm. “Oh god, Ludwig! He turned!” she screamed as the tentacles constricted around her body.

Roderick, with a sickening chorus of snapping bones and tearing flesh, split into two copies, and began to battle the group, but not before bringing Edra to the brink of death. As Ludwig and Eren fled the area, the group dealt with the two monstrosities, Oktai taking a heavy blow in the process.

Afterward, everyone tended to Edra’s wounds and Tyrius managed to bring her back from death’s door with the light of the sacred flame which burns within him. Everyone dealt with the bodies, and went back to sleep. (Milestone–Level2)

During the night Eren gave Edra one of the few healing potions she had stashed away for emergencies and her condition improved enough for travel. The group tried to convince Ludwig and Edra to at least accompany them to Emberwood, but the two were emphatic that they’ve had “enough of that nightmare place.”

The caravan set out again for a number of days, before, when prompted, pointed at a hill and notified everyone that Emberwood is just over the hill. A few members noticed that on a dead Tree, tossing a stuffed lamb up and catching it over and over, was a young Child. Noticing the group, she skipped over to them and introduced herself as Aliscent Crowe, the blacksmith’s daughter. She offered to give them a tour of the town for a Gold, which Belmir was happy to pay.

Everyone escorted to Caravan Court, which was basically the town square, a busy intersection surrounding a boarded up/contaminated well. Aliscent then skipped her way across town showing the group all the locations of note in Emberwood, as well as MANY of the gruesome fates that similar adventurers had met.

  • Bark and Buzzard: A one level public house/tavern is a popular spot among locals. There is “something cool” in the backyard. The tavern keeper can set people up in some abandoned homes as a place to stay.
  • Gilded Lilly: A lavish two story building that has a veranda covered with painted lily motif in purple. It is famous for “open Mike night,” whatever that is.
  • Skull and Sword Taphouse: A dingy saloon that was once a farmstead. A jawless skull impaled upon a rusty broadsword stands next to the entryway. This is a more rowdy establishment.
  • Red Lion Hotel: Three storey red brick mansion that now serves as a hotel for numerous individuals. Most notably several of the Amethyst Academy room and board here.
  • Crowe and Son’s Smithy: Aliscent’s father runs the smith, and he’s the only smith in town.
  • Chapel of Saint Ardenna: Run by High Flamekeeper Ophelia Reed, this is the main place of worship and healing services in the city. No doubt the faith has its own designs on Drakkenheim as well.
  • Watchtower: This old rickety watchtower serves as the main base of operations for the Hooded Lanterns, who seem more concerned with Drakkenheim than they are policing the town of Emberwood.
  • Hendrix Farm: This farmstead to the south of town is absolutely covered up with what appear to be refugees, pilgrims, or fanatics. This is the main base of operations for the Followers of the Falling Fire, a newly founded religion.
  • Eventide Manor: A burned down house that supposedly was once the residence of an Elf woman who had a child out of wedlock with a local. Sadly, many years ago the house burned down, and they died in the fire. Aliscent mentioned her friend Oliver said that some nights you can hear their screams coming from the basement.
  • Shrine of the Old Gods: Old Zoya, a witch, lives there and provides services to those who pay, like medical help or other things.
  • Marlowe’s Provisions: One of the merchant’s in Caravan’s Court, she sells mostly sundries and items that will not be very useful for adventuring.
  • Gainsbury Expeditionary Supply Company: A Caravan/repurposed old warehouse is stacked with all manner of Adventuring and mining gear.
  • Fairweather Trades and Exports: Two flat bedded carts with a Black Iron stage coach flanked by armed guards. Numerous chests are laid on the carts. Known to deal in delerium crystal. One of many.
  • Aldor the Immense: A rather Large human being sitting near his finely ornate caravan, known to deal for Delerium, and seems to have a rather “nicer” selection of items.

Aliscent takes her tip (another gold) and leaves. The group now has the town and their fates before them. When will they decide to first delve into the ruins of Drakkenheim?

Session 1 Summary

The group had accepted Eren Marlow’s offer: 25 gold per person for safe delivery to Emberwood village, which is a sort of Boom-town and the last outpost of civilization outside the ruined city of Drakkenheim.

The group provided security and help along the journey, helping Marlow many times with positioning her wagon in a defensible spot, and keeping watch on the roads.

About a week and a half into the journey, as they began to turn north on Champion’s Way, a group of soiled bandits (poorly hidden) came out of the ditches along the road and crudely offered “Safe Passage” if they paid the toll.

The group decided to pay–with violence, and were able to make short work of the bandits, leaving several dead and letting a few of them flee off into the Horizon.

A few days later as they made camp, they were approached by three weary, seemingly unarmed travelers. They allowed them to share their campfire for the night to get some rest from the road.

  • Ludwig von Gaff– A Human soiled noble that was just in Drakkenheim to reclaim the deed to his family’s ancestral estate, located in the ruins.
  • Edra Jansen– a Human wearing damaged leathers that mentioned she was seeking gold.
  • Rikard Vos– A man covered head to toe in a large leather cloak that seemed to shuffle about and did not speak a word.

They exchanged a few stories, and learned about the dangers of the city as these three were the only ones left in their own party. Shortly after, they all bedded down with members rotating watches throughout the night.

In the early hours of the morning, Rikard bolts up, shuffles over to Edra’s bedroll (closeby) and two large tentacles spring from the heavy cloak and slam down on Edra’s midsection with a sickening crunch. She screams. Session End.

RotF — Session 16

Back to Easthaven

  • heading to the town hall. Eating food from the cauldron of plenty
    • much paise from the workers
    • No knoll visits
    • nothing of note

Long rest at the White Lady Inn

Heading to find the knolls

  • snow storm w/ only about 20 feet of visibility
    • we see 4 Goliaths ( they know of the rang gang) heading to go fishing. Thuunalakalaga of the Wyrmwood Clan
    • Challenge us to a game. (Little People bowling).
      • Brundt is going to roll Osmund at Eugene
      • They play Bolder, Parchment, Shears
      • Brundt bests the Goliath 2 to 1 in BPS
      • Brundt rolls Osmund (rolls a 9) but a bit off base
        • R:0 G:0
      • Cragscaler rolls Osmund, a finger gets caught in a belt loop and Osmund of rolled way off the side.
        • R:0 G:0
      • Brundt Rolls Osumnd for a second time and rolls true and knocks over Eugene.
        • R:1 G:0
      • Skycaller rolls Osmund true and Eugene tries to hold his ground but is unable.
        • R:1 G:1
      • Eisen THROWS Osumnd at Eugene and just smokes him.
        • R:2 G:1
    • We travel a bit more and make it near the spot marked on the map. We make camp.
      • Tonlute first watch: uneventful
      • Eisen second watch: uneventful
      • Osmund third watch: uneventful
    • We make our way into a Knoll cave and find 4 Knolls around an alter.
    • Osmond cast Shatter on them twice and and turns them into a pink mist.