⏱️ Key Events (Timeline)
- Light Puzzle (South Door): Tyrius holds the first Mirror Shield to reflect light onto a floor glyph (no effect) and then onto the door aperture, opening the “sphincter-style” door.
- Securing the Room: Tyrius holds the light steady while Octai and Zadok use a crowbar and pitons (Athletics 16) to jam the door open mechanically.
- Animal Statue Room: Elmir explores the room containing skulls with gem eyes and animal statues. He retrieves a Silver Bird Statue based on the brazier inscription (“shining truth with silver wings”).
- Tunnel Scouting: Elmir finds a ventilation tunnel in the hallway. Gus uses Levitate to scout it; the tunnel goes up 30 feet but narrows into a gap too small for a person to fit through.
- Light Puzzle (West Door): The party moves to the western side. Tyrius reflects light into a glass aperture, opening a hidden study/tomb.
- Looting the West Tomb:
- Gus inspects a sepulcher (Nat 20 Investigation) and finds no traps.
- Party retrieves a Second Mirror Shield.
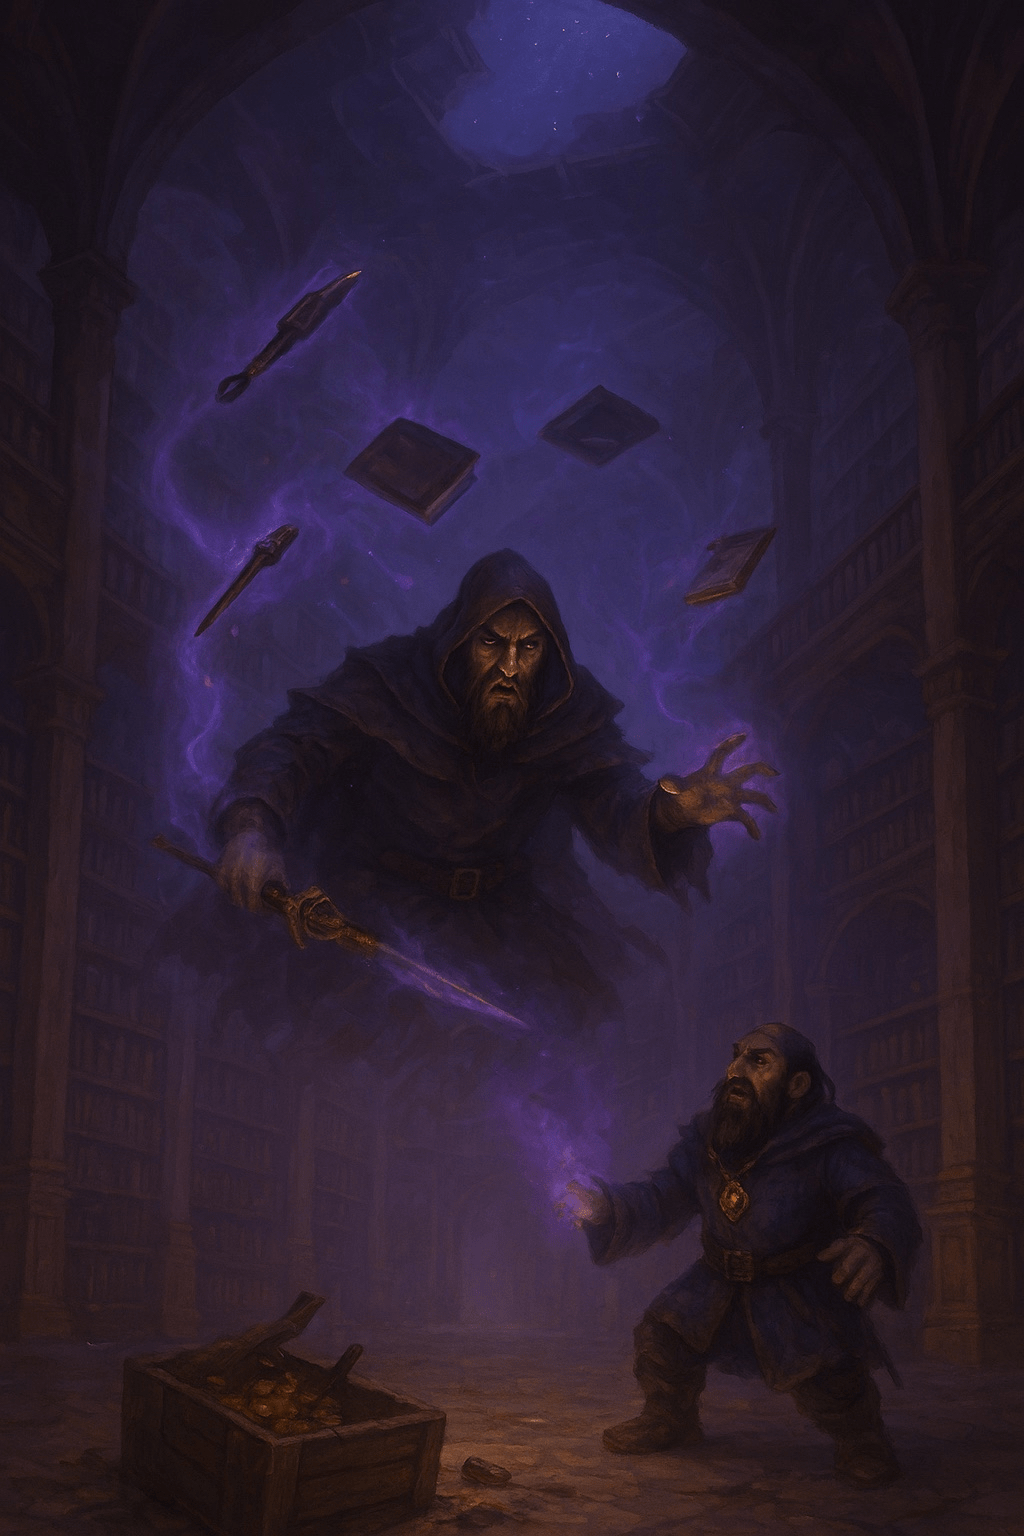
- Elmir investigates books (Investigation 13) and finds three spell scrolls.
- Weeping Statue Puzzle: The party returns to the central area. They place the second Mirror Shield in the hands of the Weeping Statue and rotate it to reflect light at another aperture.
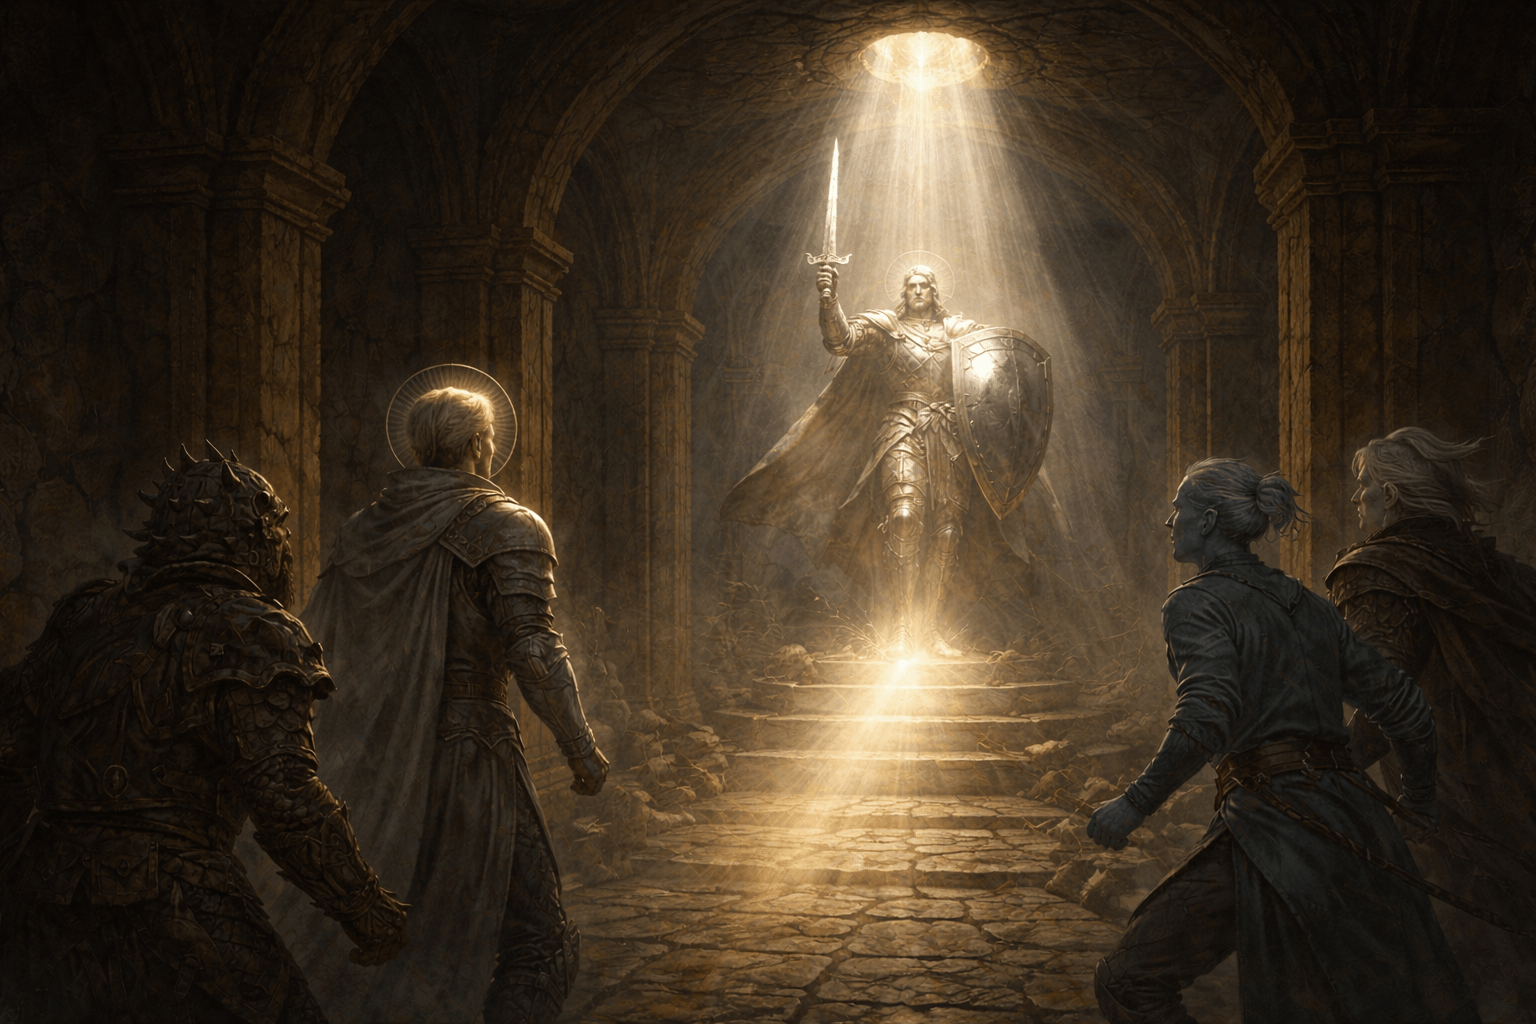
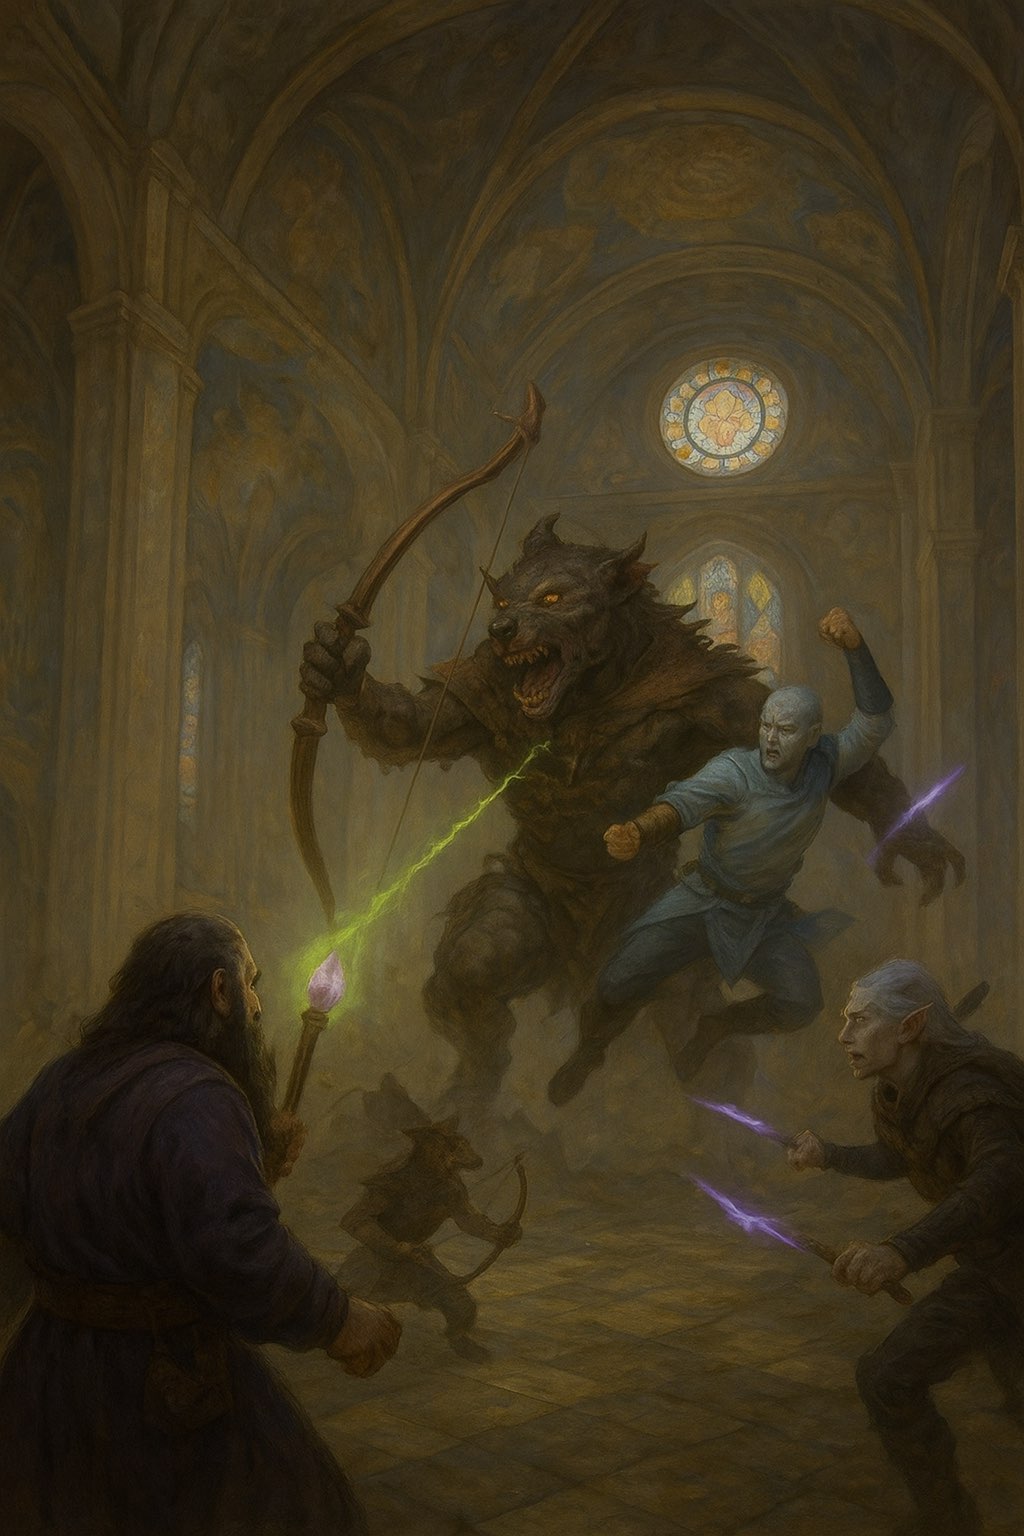
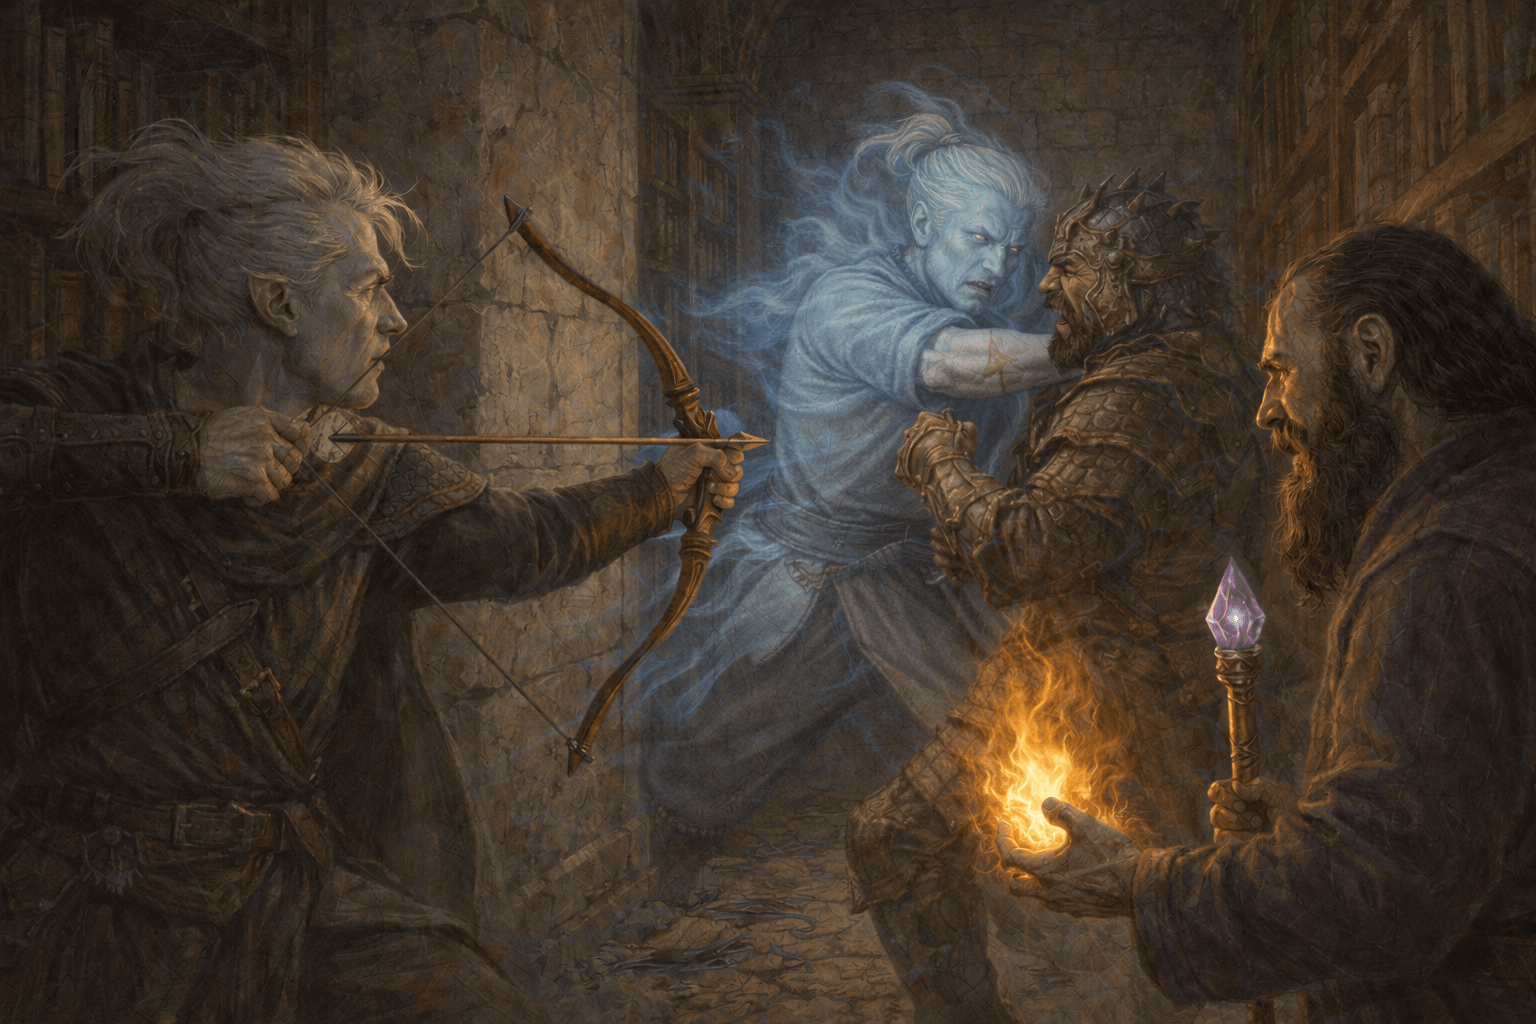
- Scriptorium Ambush: The light opens a door to a large scriptorium. As the party enters (leaving Tyrius behind to hold the light), three Ghosts manifest from the bookshelves.
- Combat Initiated:
- Octai: Punches and uses Shocking Grasp on a ghost (low effect/miss).
- Gus: Hits a ghost with a magic arrow (12 dmg).
- Zadok: Flanks with Octai; hits twice with a magic longsword (including a Nat 20 for 10 total dmg).
- Elmir: Casts Haste on Zadok and tactically retreats.
- Session End: Combat pauses at the start of the Ghosts’ turn
⚔️ Combat Engagement:
- The party is engaged in a difficult fight. An attack hits (Roll: 21) but deals no damage (possibly due to immunity or resistance).
- Player Down: Speaker 1 expresses concern about an enemy having the “Sentinel” feat. They roll a 13, then a 9, and confirm they are “down” (0 HP).
- Failed Save: Speaker 1 attempts a Charisma-based save or check and fails significantly with a roll of 4 (“Beat the devil out of it”).
- Counter-Attack: Speaker 1 recovers or is aided, making two attacks. One hits with a 23, dealing 6 damage.
- Roleplay Moment: Speaker 1 describes screaming in a target’s face. Speaker 2 notes they are not hurt by the action.
- Status Check: Speaker 2 confirms they are present and listening. Speaker 1 asks “Do we end?” signaling the conclusion of the session.
👥 NPCs
Name Description Location Hooks/Notes Tyrius NPC Ally Catacombs Currently holding the light beam steady to keep the Scriptorium door open; not in combat. Zadok NPC Ally (Controlled by Elmir’s Player) Scriptorium Wielding the second Mirror Shield (temporarily); currently Hasted by Elmir. Ghosts (x3) Undead Enemies Scriptorium Resistant to non-magical attacks; emerged from bookshelves.
🛡️ PCs
PC Player HP/Status Inventory Changes Notes Elmir Wizard Active +1 Silver Bird Statue, +3 Spell Scrolls Concentrating on Haste (on Zadok); Detect Magic active. Gus Air Genasi Active None Used Levitate (1/Long Rest). Octai Monk Active -1 Crowbar, -Pitons Jammed the southern door open.
PC Player HP/Status Inventory Changes Notes Oktai Unidentified Critical: Dropped to 0 HP (“I’m down”), later recovered to attack. None Failed a Charisma save (Roll: 4). Landed a hit (Roll: 23) for 6 dmg. Speaker 2 Unidentified Stable None Avoided damage from Speaker 1’s scream action.
💰 Loot/Resources
- Silver Bird Statue: Small, weighs <5 lbs, found in the Animal/Skull room.
- Mirror Shield #2: Replica shield, polished to a mirror finish (currently used in puzzle/held by Zadok).
- Spell Scrolls (x3):
- Scroll of Divination
- Scroll of Conjuration
- Scroll of Abjuration
🗺️ Quests/Plot
- Active: Explore the Catacombs beneath St. Petrurio’s Cathedral.
- Active: Solve the Light/Mirror puzzles to unlock deeper sections.
- Puzzle Hint: The brazier inscription reads: “The bodies of our first flame keepers rest here under the watchful gaze of the dead. Here, a living soul should seek their guiding light. Know that one who sees with clear eyes may open the way. Take up the shining truth with silver wings.”
🌍 World/Lore
- Door Mechanics: The doors in this section are circular apertures that open like sphincters when a beam of light hits the receptor. They close immediately if the light is removed (unless physically jammed).
- Magic Auras: The doors radiate Conjuration magic. The mummies (previous encounter) radiated an unfamiliar magic.
- Scriptorium: Contains shelves of texts organized by date, inkwells, and four large tables.
⚠️ DM Notes/Reminders
- Combat Pause: Resume session at the top of the Ghosts’ turn.
- Zadok Status: Zadok is currently under the effects of Haste (+2 AC, Adv Dex Saves, Extra Action, Double Speed).
- Tyrius Status: Tyrius is outside the combat room maintaining the light beam; if he moves or is attacked, the door may close, trapping the party inside.
- Door Jam: The southern door (Animal Room) is jammed open with a crowbar and pitons.
- Clarification Needed: Confirm if the enemy actually possesses the Sentinel feat, as this caused significant player concern.
- Mechanics: Review why the initial hit (Roll 21) resulted in “No damage” (Resistance/Immunity check).
- State Tracking: Speaker 1 ended the session shortly after being unconscious; ensure HP is tracked correctly for the next start.